Sunday, April 26, 2015

Chapter 15 In which Kat does something useful


  Things have been quite busy around here lately, so it has been difficult to find the time to work on the trailer much less to write about it.  We have been making plans and arrangements for the trip, and we have moved ahead on  some projects.  If you have been following the camper build and have read along as we anticipate our upcoming cross country trek, you may have found yourself looking a bit sideways at the whole thing and thought  something like, "....and where exactly is everyone going to sleep?".  Well, the camper will serve as the master bedroom and the back of the truck as the kid's room.  Commence snarky comments about how the kids are getting the short end of the stick.  As the beds were mainly Kat's project,  I will leave the "show and tell" to her.

Anyone who knows me is aware that I like to make things. These things may not always be the most useful things. 
Exhibit A
Don't act like you've never wanted a little pink sheep with a mustache. It's about time I put my eclectic skills to work for our trailer project. No, there wasn't felting involved, but quite a bit of sewing and even some sanding and painting. We started with a bed for the trailer. I ordered a custom foam mattress. Actually, I had to down size to a custom cushion because our bed is that small. It arrives in the mail looking like this.
This cute little package
slowly becomes
an odd brain like thing.
And once allowed to breathe
a mattress.

I had Zo video the process but I decided to spare you the experience of me telling Kinsey "to get off" every thirty seconds. It comes wrapped in Dacron batting that makes it nice and fluffy. It also is very easily destroyed so I needed to make a cover. Now, I have in my possession several hundred yards of bright red stretch twill. Why, you ask, would anyone own that much stretch twill. That I'm afraid is a story for another time, involving my overly optimistic views and a misguided business attempt. But, I have found that there's a lot you can do with red stretch twill.
Exhibit B
I digress. Away I headed to my sewing room with an extremely long zipper and a fraction of my stretch red twill. 
I began by cutting some very long thin pieces that would become the sides of the cover,
and finished of the edges with my serger. 
I sewed the pieces together to create even longer pieces making sure the stretch would pull
against the zipper rather that along it.
I then sewed the thinner of my long pieces along the zipper folding the serged edge under as I went.
For the wider piece I ironed the edge over so I would have a flap that covered the zipper.
Here both the thin and wide pieces have been attached.
The aforementioned flap
I pinned the zipper piece to the large top and bottom pieces.
I had already sewed the top and bottom together along one side.
Final step sew pieces together with the serger.
I do not have any pictures of the cover, it's not all that exciting just a big pile of red. But we were very excited to get the mattress into the trailer.
We attempted to get a picture of Ry and I in the trailer, as it is our bed,
but Zo's focus skills weren't quite up to the challenge and lets be honest the girls are way cuter.
With this step complete we decided it was time to figure out the girls' diggs. We had attempted to order a fancy air mattress that fit in the bed of the truck but that didn't go so well. I thought that we could optimize space better if Ry built a platform in the truck to put a foam mattress on. You can imagine he was not exactly enthused about having more added to his to do list, but he agreed. 
Not the most homey looking bedroom. 
Ry took advantage of a nice day to build the frame in the driveway.
I am not a woodworker. That is Ry's department. I have neither the patience nor skill to build even the most basic object. You should see the wedging table I built for my ceramics studio, ugh. I can, however, do menial tasks such as sanding and painting. 
There was priming 
sanding 
blowing
(the big hole you see is an additional storage space that will double as a prop for the mattress to convert it into a couch.)

and painting.
I ordered the mattress for the girls. For the record their's is actually a mattress as it was over 70" long, though it is a smidge more narrow then ours. Repeat the same process I did for our mattress. If you feel the need, go ahead and scroll through those pictures again. In the end we had a slightly more inviting bedroom for the girls. It still needs some work, things like new sealants around the windows, lighting, and a fan. At least now they have a bed and some storage space.


Tada!


Tuesday, March 24, 2015

Doors and windows and handles... oh. my...

    It has been awhile since the last post because I have been working on a couple of things that really don't amount to anything of interest to anyone else and don't come with any cool pictures.  The hatch finishing process has been  a hassle, and tracking down an aluminum source has proven to be somewhat problematic.  But...  This just in! Breaking news!  Today we were able to place a confirmed oder with a local metal company for all of the aluminum parts necessary to put a roof over our heads and a skin on the galley hatch.  This is big because I feel like once I have the metal phase complete, I can move from scratching my head over the  build to scratching my head over the logistics of the trip itself.  That said, I have made some progress on the camper in the mean time.  The doors to the sleeping cabin, and their hinges, and moldings,  have all been sitting around the shop for quite some time, so I figured it would be a good time to tackle the door installation while I figured out the metal supply business.  The door installation process turned out to be much more time consuming and tedious than anticipated, but I will spare you the stops and starts; I'll give you the version that makes it look like I know what I'm doing.  Brevity is a virtue, right?

The first step is to bend the t-molding around the door.  This molding covers the gap between the camper side and door, and will eventually get a weather strip around it to seal out rain and wind.  Here you can see the straight length of molding, the end made flush to the flat side of the door, clamped to the lower, straight section of the door.  

Pulling away from the clamped section, the molding is bent around the door a little at a time.

Here the bend is complete and clamped into place.  Then the top end is marked, cut to length and filed smooth.  At this point, screws are countersunk through the molding into the edge of the door every 3"

Once released the molding rebounds a bit but is ready for a bead of silicone and final application to the door.

The hinge has been cut to length, and had countersunk holes drilled in it.  The door has already been hung and pilot holes have been drilled in the edge of the door as well as in the edge of the door opening.  All that remains is to lay a bead of silicone and screw it in.
Ta da! it's a door... almost.

   
Looks pretty good, but it seems to be missing something.  It would be nice if there were some way to open and close the thing, and maybe something to fill up that big hole and keep the bugs out.


Locking door handle

Sliding window
 

That's better.


       There are a few more things to work out before the doors are really operational, but they do go some distance to completing the look.  I still need to do the weather stripping and there is an aluminum drip rail that needs to be bent to the shape of the top of the door.  It will need to be bent on a form and attached to the camper side just above the door so that it carries any water running down the side of the camper around the door opening.  I also need to monkey around with the door handles a bit to make them latch correctly.  All that said, it is very good to get some of these parts out of their boxes and into their rightful places.  As the girls see the camper coming together, they are both getting pretty excited about the journey ahead.  They've both been talking about it quite a bit.  Yesterday, as Kinsey was helping me weatherstrip the doors, she said, "I can't wait to see it roll out that door."  It made me smile.  Their mounting excitement makes me realize two things.  I have made them a pretty serious promise, and there is less time than I think to make it happen.

Kat's Comments 
The girls have both had their turn so it's only fair that I get a a chance to chime in. Right? Watching this whole process has been amazing. Not only are we getting a gorgeous teardrop trailer out of this but my husband is now blogging. The mind boggles. He has been working non-stop for months juggling multiple projects. The man is crazy. Crazy awesome. I get called in from time to time to offer opinions or hold things. Mostly hold things. This weekend I held the doors and then the windows. What Ry doesn't tell you is how hard each of these steps were. Things are never as simple as one would hope. But here's the thing, despite parts refusing to fit or not being as advertised, Ry has consistently been able to make it work. I have always called him my fix-it man. Whenever I have issues with making some thing or another work Ry figures it out for me. The trailer is no different. While there may be a wee bit of profanity involved, in the end he gets the job done. So while I miss having him around, I am am eternally grateful for what he's enabling our family to do. Cheers, my dear, and don't worry, we'll figure it all out in time.
   

Friday, March 6, 2015

Building the Galley Hatch

    In this post, I'll be going through the process of building the galley hatch.  I'll start by shaping and fitting the parts for the hatch frame and end with the application of a sub-skin similar to the process explained in the last post for closing up the roof.  The hatch is the last major exterior component that remains to be built before I can start the process of finishing it off with aluminum.  You may remember that the interior of the sleeping cabin is a combination of sapele and maple.  I have decided to go with white oak and sapele in the galley.  In keeping with this scheme, the hatch frame will be made of sapele and the skin of 1/4" oak plywood.
    If you have read the post about making the camper sides or the one about the building the trims, then you are familiar with the process of making parts from a master template.  The same process and the same template were used to shape the curved rails for the hatch frame.  Next the ends were cut so that they butt into the spar running across the top of the galley opening, sit on the galley floor, and follow the curve of the side wall.   Satisfied with the fit, I marked them for the placement of the cross braces, and screwed them together without glue so I could check the fit and work out the size of the skin before making anything irreversible.

On the left are the hatch side rails, on the right the cross braces, and in the middle are the oak dowels that will be used to make pegs for the joinery and plugs for the screw holes.

A marking stick helps to figure out the spacing of the cross pieces.

Once the spacing is marked on one, the two sides are matched up and the marks transferred. The marks on the broad side of the pieces indicate the placement of the screws and pegs. 

Once it is screwed together, I stuck it in the opening to check the fit... pretty good.

Here you can see the frame butting against the hinge spar at the edge of the roof.

     Now that I know that everything is copacetic, it's time to take it all apart, but there are a couple of things I need to do first.  I need pegs, plugs, and holes to put them in.  You always want to do everything you can before you get the glue out.

The plugs on the left have beveled ends so that they will easily tap into  the countersunk screw holes.  The pegs on the right have tapered ends and flats sanded on their sides to about 3/4" from the end that will be exposed.   The Flats are necessary to give the glue somewhere to go.   Without them, the hydraulic pressure created  by driving the peg in can split the wood apart along it's grain.

Here you can see the 2 1/2" peg and screw.  The blue tape flag on the drill is my depth gauge.

All the holes are drilled.

Here the frame is disassembled and ready for glue.

     In that last picture you can see how the joint works.  The screw driven into the bottom hole acts just as a clamp would to draw the joint together while the peg glued into the top hole prevents rotation of the cross piece while the glue sets and permanently bonds the two pieces.  Because the screw is a mechanical fastener, there is the possibility that it could eventually loosen with the seasonal movement of the wood and road vibration.  The glued peg is what will give this joint it's real strength.  Once that peg is driven, there is no separating those two pieces.  Looking at that picture I realize something else;  It bears a striking resemblance to something you might find in a set of IKEA instructions, and as such I feel a little conflicted about my seemingly excessive wordiness.  I should be able to explain this whole thing with a few line drawings of a grinning chubby dude wielding a drill and hammer.  I guess thats not going to happen, but I feel I should do something to honor the inherent IKEA-ness of this particular bit of joinery.  I hereby dub this joint, the SCROOPEG joint.

I removed one side of the frame, applied glue to both sides of all 5 joints, and using the screw heads to register the parts, pulled it all together by driving the screws.

I squeezed the top of each joint with a clamp, painted up the inside of the hole with glue, and drove in the peg until it bottomed out.

All of the holes are pegged or plugged.

Using a piece of plastic laminate to protect the wood, the plugs and pegs are cut off close to flush.  I'll grind them flush with a sander.
     Now that the hatch frame is assembled, it's time to work with the skin.  First, I cut my sheet of 1/4" oak plywood a couple of inches longer than what I will need.  I'm going to have to rabbet the edge that will receive the hinge (make it thinner) so that it will be flush to the masonite sub-skin on the roof.  The extra length will give me a second chance if I screw it up.  

The top edge is made flush and screwed down.  Then each cross member gets a screw in the center and at each end.  You can see the rabbeted edge where the hinge will be attached.


At this point, the hatch is put back into the opening and the bottom is marked where it will be cut.

Here you can see the line drawn across the bottom where that extra length will be cut off.  

The pilot holes have been made for the remaining screws about every 3" along the frame sides and cross braces.

     The next step is to remove the skin and cut it to length.   I had Kat help me with the glue up because a helper is always good when you are racing against the glue.  We got the glue, a big pile of screws and some clamps all ready to go and we were ready.


So this is sort of a nutty angle, but what you are looking at is the bottom end of the skin being held away from the frame while the top edge is being aligned and fastened.  Notice the glue spread on both surfaces to be bonded.

Fastening down the top edge.

Because the first row of screws needs to be 1" back from the edge to be out of the way of the hinge, the leading edge needs to be clamped tight to insure a sound bond that conforms to the curve of the frame.


All glued.  When the glue has dried I will replace the screws with staples. this will make it easier to get a nice smooth finished surface.


Her's what the inside of the finished hatch looks like.
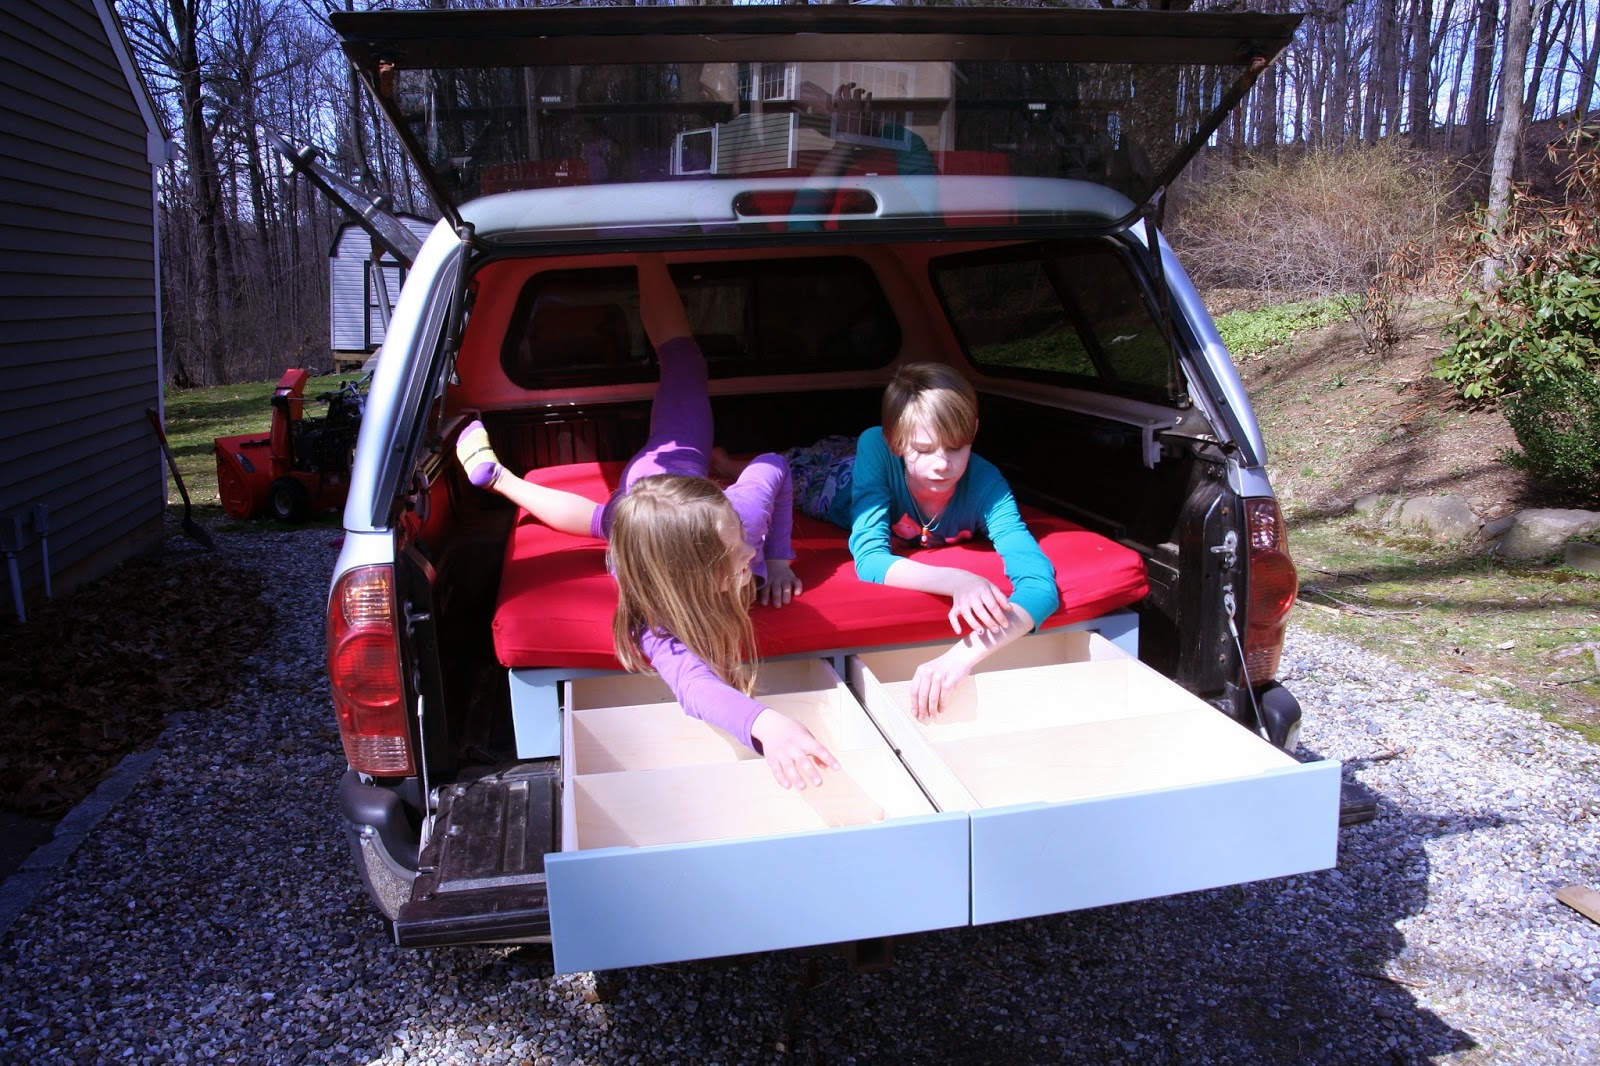
It's a hatchback.

   
Teardroppy.


     Now I have to put a finish on it.... ugh.  Once that dreaded task is done, it will be time to do some aluminum work, hopefully.  I  sent a quote request to a local metal shop for all the aluminum parts I'll need to skin the exterior.  Based on their website, I thought it was a good prospect, but I haven't heard back.  They may be a strictly wholesale company.  At this point, I don't know where I'm getting my metal.  I'll figure something out.
     In the last post I introduced "Kinsey's Korner".  This is the feature of the blog that will be authored by my younger daughter Kinsey as she shares her thoughts about our travels.  This time we will have the first installment of Zoe's portion of the blog.  With that, I give you... Well, Zoe hasn't yet settled on a satisfactory title for her segment, so for now we're going with this:

Zoe Says...
This SummerI'm going on a cross country trip.I am looking forward to seeing all of the different states, cultures,and wildlife.  My one worry is that we are going to be riding in dad's truck, and so far he's done an extremely impressive job of keeping it clean.  Dad is planning on having two children living in that vehicle for seven weeks... I wonder what it will look like at the end of the Summer?


                       It's good to know that Zoe and I share some of the same concerns.